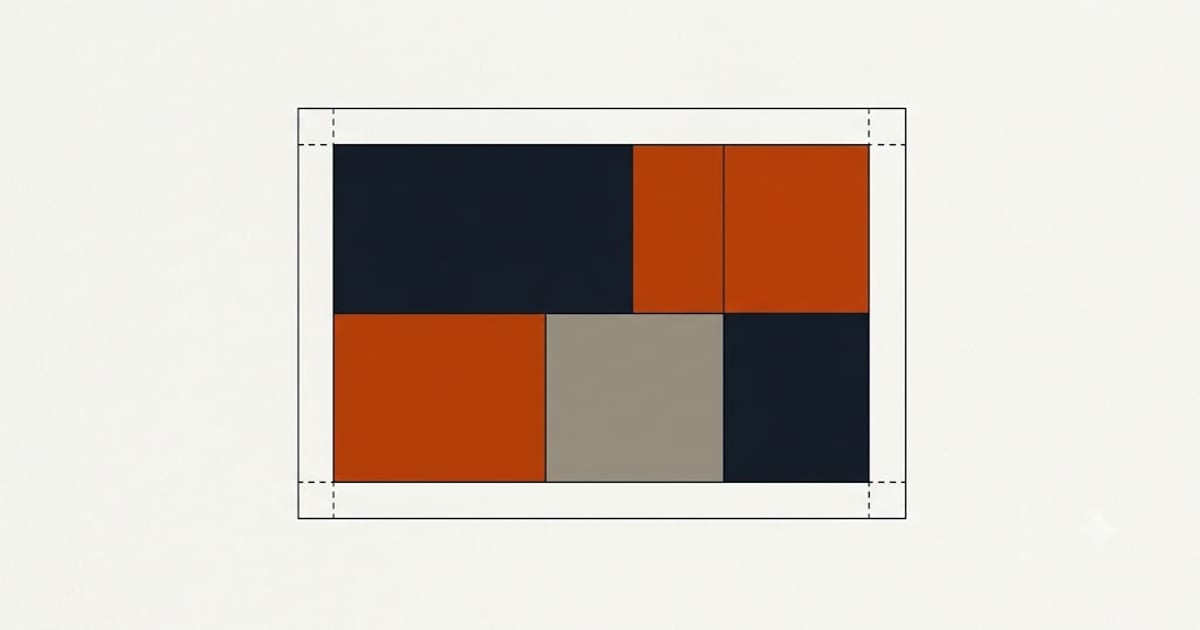
The outdoor unit's position affects performance, noise, appearance, service access and how long the line sets have to be. It is fixed on the day of installation and expensive to change afterwards.
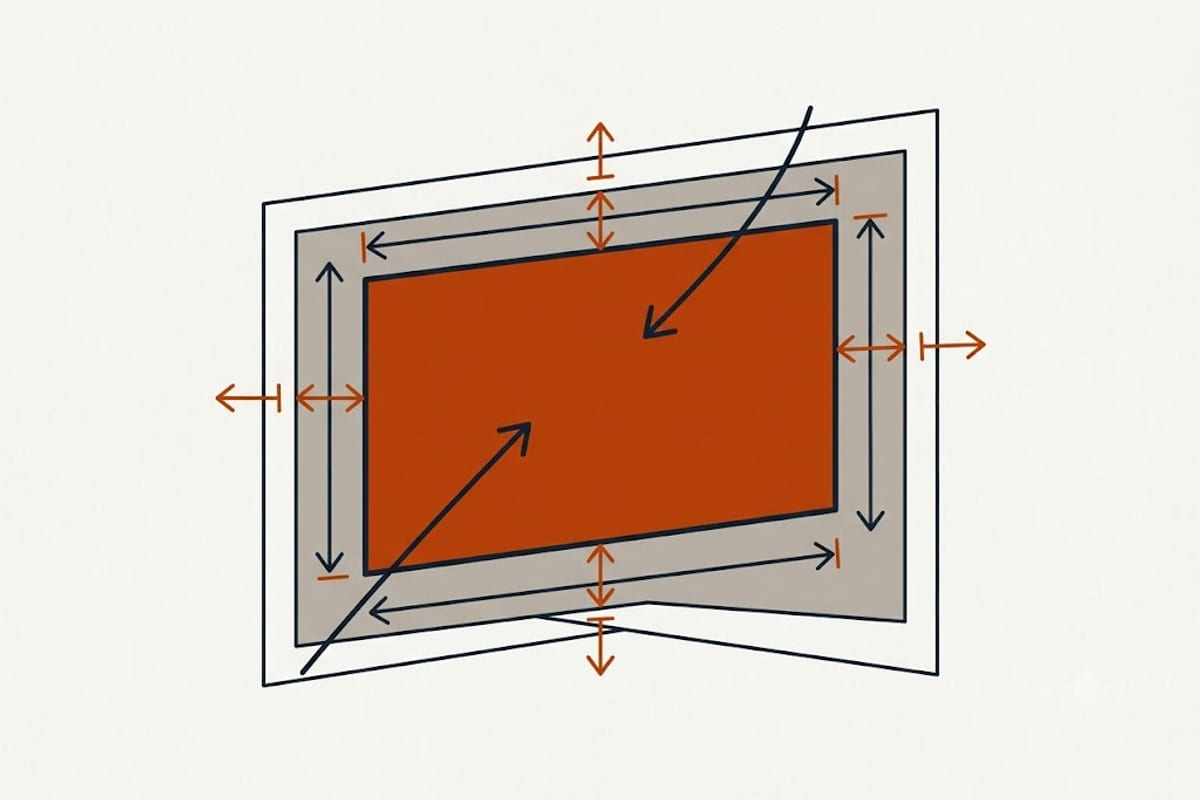
Airflow clearances
The unit draws air in through the back and sides and discharges it through the front. Every manufacturer publishes minimum clearances on each face.
The failure mode is recirculation: discharged air drawn straight back into the intake. In cooling that means the unit is rejecting heat into air it just heated, and capacity falls. In heating it means drawing air it just chilled.
An alcove, a tight corner between two walls, or a screen built close on three sides all produce this, and the symptom is a system that performs worse than it should for no obvious reason.
Ground or wall
Ground mount on a pad or stand. Easier to service, quieter to the house structure, and it needs the pad above expected snow and drainage away from it.
Wall bracket. Keeps the unit clear of snow and out of the way, and transmits vibration into the building. Fine on a masonry wall, worth more care on a light-framed one, and worth avoiding directly on a bedroom wall.
Snow and ice
In a cold climate the unit must sit clear of the maximum expected snow depth, on a stand rather than a pad.
It must also be clear of a roofline that sheds snow or drips, since a unit under an unguttered eave collects everything the roof produces.
Defrost meltwater runs off the coil and freezes below, which is why the base must drain freely and why a drain pan heater is worth having in a damp cold climate.
Sun and heat
In cooling, the unit rejects heat to the air around it. A position in full afternoon sun on a south or west wall works harder than one in shade.
The effect is real and modest. Shade is worth having if it comes free; building a structure to provide it usually costs more airflow than it gains in temperature.
Noise
Ductless outdoor units are quiet, and they are not silent, and they run for long periods.
Consider bedroom windows — your own and the neighbours' — and the property line. Where a local ordinance sets a noise limit at the boundary, it applies.
Manufacturers publish sound ratings, and quieter models exist. Distance and orientation help more than anything else.
Distance to the heads
Every foot of line set costs a little capacity and adds cost, and there are published maximums for total length and height difference.
A position that suits the exterior appearance but puts the unit at the far corner from the heads is a trade worth making deliberately rather than by default.
Service access
The unit will need service. Space in front of it, and room to remove panels.
A unit boxed into a narrow side passage behind a gate, with a fence built afterwards, becomes a job every technician charges more for.
Elevation and flooding
Above the flood line where that applies, above where a plough or a snow blower will throw, and above ground where leaves and debris collect.
Where the unit is at ground level in a garden, a hail guard or a simple surround protects the coil fins from strimmers and footballs without restricting airflow — provided the clearances above are respected.
What to agree before the day
Walk the exterior with the installer and mark the position. Look at the sightline from the street, the bedroom windows, the neighbour's boundary and the roofline above.
Ten minutes then is worth more than any conversation afterwards, because the penetrations are drilled and the brackets are fixed on the first morning.